






































































Drainage channels for driveways, yards and patios
Published · Updated
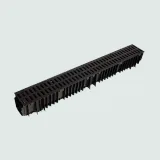
A drainage channel is a long, narrow trough with a grating on top, laid flush with paving to catch surface water along a line and lead it to a drain. Gratings are rated by load class under EN 1433; the drainage maker Dakota names A15 for footpaths and B125 for private driveways.
In stock in Zanzibar
See all 11 products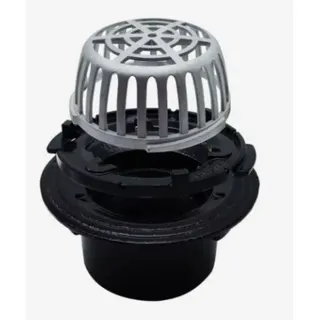
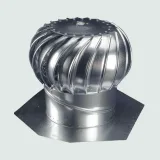
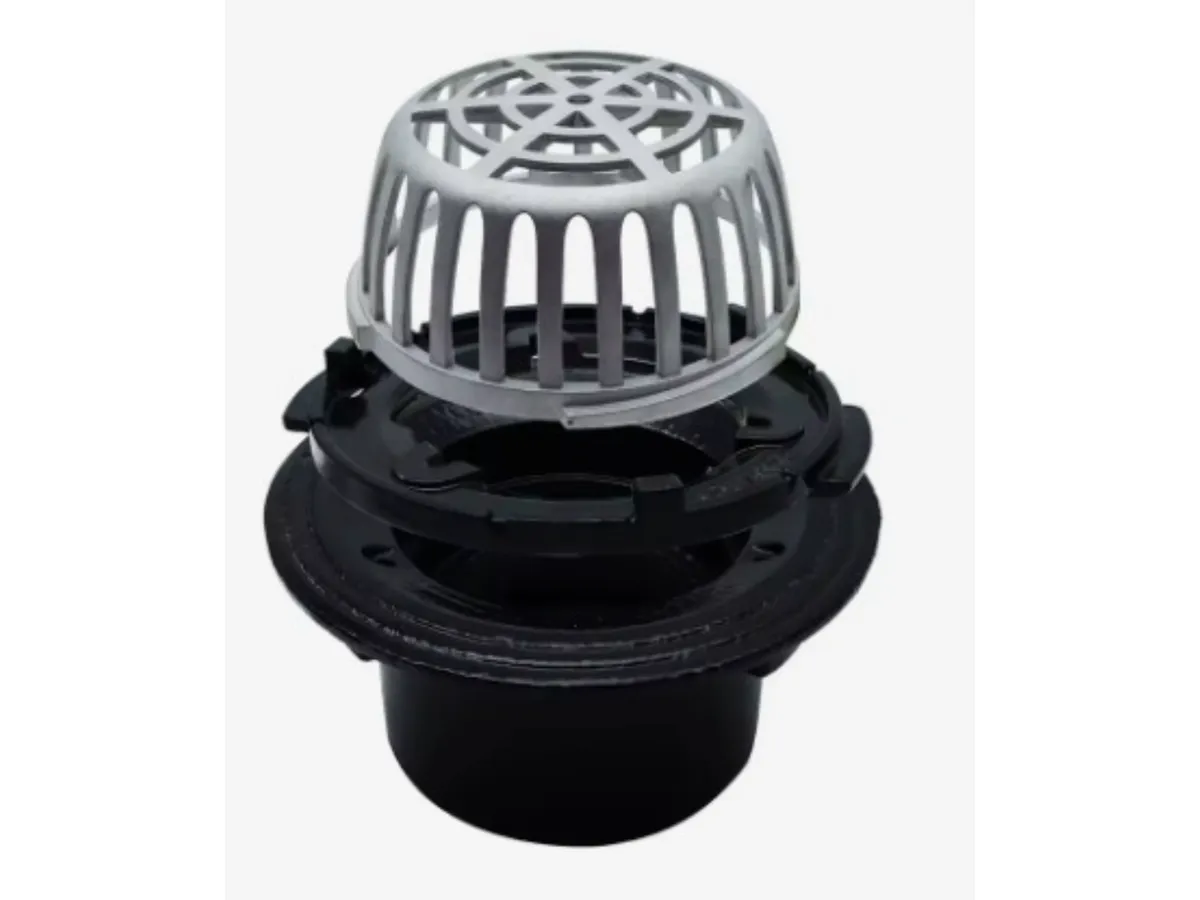
Flat Roof Drain with Dome Strainer for 110 mm Pipe
For 110 mm pipeOutlet for flat roofs and terraces, with a dome strainer, for 110 mm pipe.
Order on WhatsAppTZS 159,900perpiece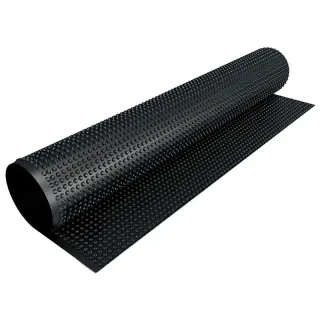
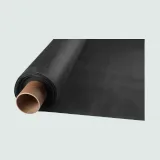
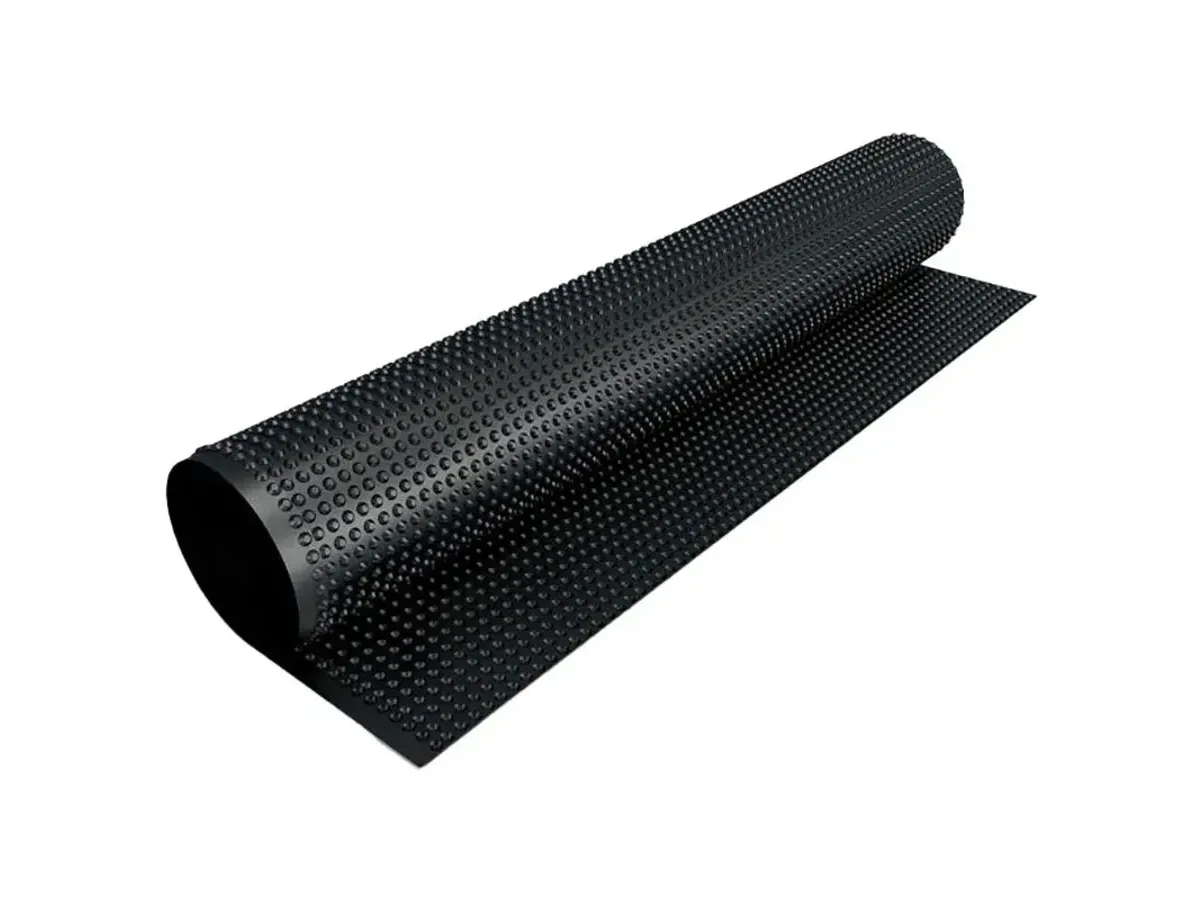
Dimple Drainage Membrane 8 mm with Geotextile (HDPE Drainage Board)
Studded membrane that leads water away from foundation walls.
Order on WhatsAppTZS 328,000perroll
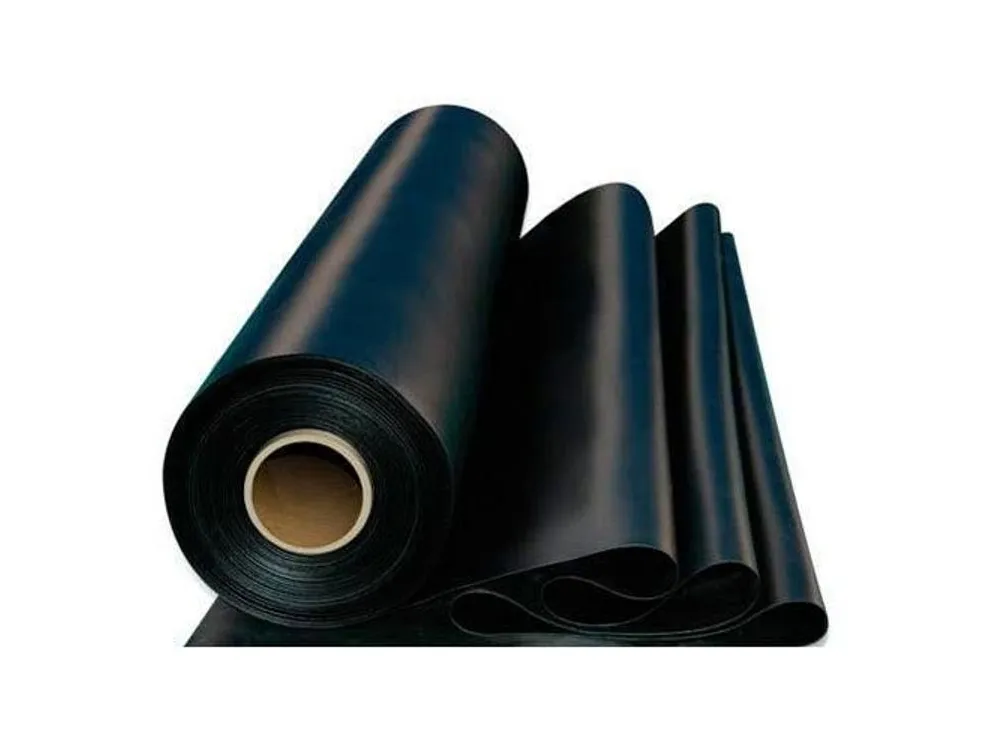
Non-Woven Needle-Punched Polypropylene Geotextile 200 g/m²
200 g/m²Wrap for drainage gravel: it lets water through and keeps soil out.
Order on WhatsAppTZS 526,000perroll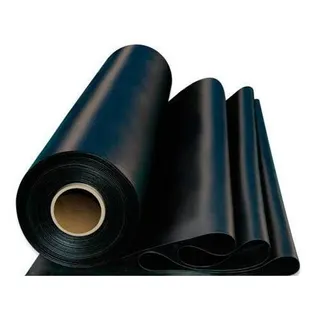

What a drainage channel is
A drainage channel — also called a channel drain, trench drain, linear drain or slot drain — collects rain running across a hard surface and carries it to an outlet. Where a point drain gathers water from a dished area around it, a channel catches it along a whole line: across the bottom of a driveway, in front of a garage door, along the edge of a yard or patio.
The paving maker Marshalls explains when one is needed. All paving needs drainage; where kerbs or edging stop water running off and it cannot be led onto a flowerbed or lawn, some form of drainage channel is needed.
Parts of a channel drain
- Channel units — the troughs, joined end to end into a run.
- Gratings — clip-in or bolt-down covers over the slot, chosen by load class.
- End caps — closing the open ends of the run.
- Outlet or sump unit — a deeper piece where the run connects to an underground pipe; some carry a silt bucket that catches grit before it reaches the pipe.
Channel sections are made with or without a built-in fall. The European drainage maker Dakota advises a continuous fall of 5 mm per metre (1 in 200) along the run whichever type is used, to keep water and debris moving.
Materials and load classes
Dakota lists channel bodies in HDPE, polypropylene, concrete and galvanised steel, with ductile iron for heavy loads. The gratings are rated under EN 1433 in letter classes from A15 to F900 — the same letters as manhole covers under EN 124:
| Class | Use given by Dakota |
|---|---|
| A15 | pedestrian areas only |
| B125 | private driveways with regular car traffic, about 12.5 tonnes |
| C250 | heavier access such as delivery vans and refuse lorries |
| F900 | industrial yards and airports |
The full EN 1433 range also has D400 and E600 between C250 and F900; for what those letters stand for under EN 124, see manhole covers. A plastic channel with an A15 grating belongs on a patio, not across a drive where a lorry turns.
Where a drainage channel goes
- At the low edge of paving, where cross-fall brings the water.
- Across driveways, car parks and loading bays — the places Dakota lists — where water would otherwise run on towards a building.
- Along a building wall — Marshalls asks for the finished channel to sit at least 150 mm below the damp proof course of the building.
From the outlet, the water goes on through drainage pipes to a soakaway, a ditch, a storm drain or a culvert under a track.
Laying a drainage channel
The steps below follow the installation guides of Marshalls and Dakota. Where they differ, both figures are given.
- Dig the trench. Dakota: at least 50 mm deeper and 100 mm wider than the channel unit.
- Remove organic matter such as grass and roots, and compact the base (Marshalls).
- Pour the concrete bed. Marshalls: around 100 mm of well-compacted semi-dry concrete, typically C25/C30, depending on loading and ground.
- Start at the outlet and lay the run to a string line, with the channel ends butted tight and sealed.
- Bed the outlet unit in 150 mm of concrete of the same grade as the haunching (Marshalls).
- Set the level. Marshalls puts the top of the channel 5 mm below the finished paving; Dakota puts the grate about 2 mm below the surrounding surface. Either way, water must be able to run onto the grating, not stand against its edge.
- Haunch the sides with concrete and lay the paving up to the channel.
- Wait before loading. Dakota allows at least 72 hours before traffic.
Keeping it clear
Gratings collect leaves and sand. Dakota recommends emptying silt traps and buckets by hand every 6 to 12 months, more often in car parks and other places with a lot of debris.